


Blog Summary: Preparing files for large format printing involves more than resizing a document. This guide covers the resolution, bleed, color, and file format decisions that affect print quality, and shows how web-to-print software helps print businesses standardize the process and reduce production errors.
Large format printing covers everything from trade show banners and vehicle wraps to wall murals and retail signage, and the files behind these projects behave differently than a standard letter-size document. A design that looks flawless on a monitor can turn out pixelated, miscolored, or misaligned once it is scaled to several feet across. The global large format printer market is projected to grow from $7.94 billion in 2025 to $10.36 billion by 2030, a 5.5% annual growth rate, according to MarketsandMarkets. As more businesses invest in large-scale graphics, print shops and in-house design teams need a reliable, repeatable way to prepare files that print correctly the first time.
This guide breaks down what actually affects large format print quality, walks through a step-by-step file preparation process, and explains how modern large-format printing software reduces guesswork and standardizes the workflow.
Quick answer:Preparing a large format print file means confirming the final output size and bleed, setting an effective resolution based on viewing distance rather than a flat DPI number, converting or checking color for the intended output profile, embedding fonts and linking or embedding images correctly, exporting to a print-ready format such as PDF or TIFF, and confirming the file against the print provider's production specifications before it goes to press.
Understanding Large Format File Requirements
Large format output, generally anything printed wider than 18 to 24 inches, is judged differently than desktop printing because viewers usually see it from several feet away rather than holding it in their hands. That single fact changes how you should think about resolution, file size, and artwork construction.
Four factors have the biggest effect on the final result: final size and scale, resolution relative to viewing distance, color management, and the file format and artwork elements you use. A print shop running easy-to-use large format printing software can standardize these settings for customers automatically, but it still helps to understand the reasoning so you can catch problems before a file goes to production.
Final Size, Scale, and Proportions
Every large format job starts with the exact finished dimensions, not an approximate size. Width, height, and orientation should match the substrate and the intended installation, whether that is a pop-up banner stand, a building wrap, or a trade show backwall. Getting the difference between a wide-format, large format, and grand format wrong is one of the most common causes of reprints, since scaling a file up or down after the fact can distort proportions or degrade image quality.
Resolution and Viewing Distance
There is no single DPI or PPI number that applies to every large format project. The resolution a file needs depends on how close viewers will stand to it. A banner meant to be read from across a parking lot does not need the same pixel density as a countertop sign viewed from a few feet away.
As a general starting point, pieces viewed from within 2 to 3 feet typically need 150 to 200 PPI at final output size, while graphics viewed from 6 feet or more can often use 100 PPI or less without any visible loss of quality. Designers working at a reduced scale, such as one-quarter size, should multiply their target PPI accordingly so the effective resolution at full size still meets the requirement.
Always confirm the expected resolution with your print provider or production team rather than assuming a flat rule, since acceptable resolution also depends on the printer, ink set, and substrate.
Color and Color Management
Large format devices typically print in CMYK, and colors that look accurate in RGB on a monitor do not always translate the same way to ink on a substrate. using CMYK or a color-managed workflow with the correct ICC profile helps prevent unexpected shifts, particularly with bright greens, blues, and rich blacks that RGB can display but CMYK ink cannot fully reproduce. Confirm the required color mode and profile with your print provider, since exact requirements vary by press and RIP software.
File Formats and Artwork Elements
Vector artwork (built in formats such as AI, EPS, SVG, or vector-based PDF) scales to any size without quality loss, which makes it the right choice for logos, typography, and line art. Raster artwork (JPEG, TIFF, PNG, PSD) is resolution-dependent and best suited for photography and complex gradients. Most large format print files combine both: vector elements for text and graphics, raster elements for photographic content, packaged together in a single print-ready PDF or TIFF.
That's why learning all about a wide-format web-to-print software and using one is essential to prepare easy-to-handle files without errors.

How to Prepare Files for Large Format Printing Using W2P Software
Manually checking every one of these variables on every job is time-consuming and easy to get wrong under deadline pressure. This is where choosing the right large format printing software matters. The right platform builds size limits, bleed, color mode, and file-format rules directly into the ordering and upload process, so fewer errors reach production. Here is the step-by-step process.
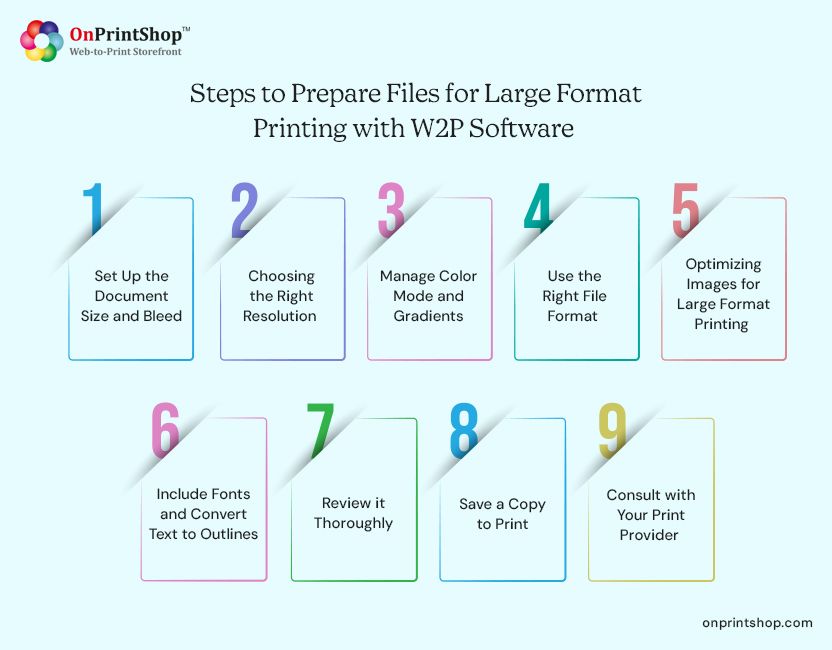
Confirm Final Print Size and Specifications
Lock in the exact finished width, height, and orientation before you start designing. Setting the size correctly up front also lets you get an accurate cost estimate early. Rapid print estimating software can generate a price as soon as size and quantity are entered, so you can validate budget before committing design time.
Set Bleed and Safe Areas
Bleed is the extra artwork that extends past the trim line, typically 0.125 to 0.25 inches, so that small alignment shifts during trimming or mounting do not leave white edges. Keep any critical text or logos inside a safe zone set back from the trim edge, since content placed too close to the edge risks being cut off.
Prepare Images at the Right Effective Resolution
Set image resolution based on the viewing distance guidance above rather than defaulting to 300 PPI for everything. Oversized images slow down file uploads and RIP processing without adding visible quality at typical viewing distances.
Set Up Color Correctly
Convert or build your file in the color mode your provider specifies, generally CMYK for large format ink-based printing, and embed the correct ICC profile so the file's color intent travels with it.
Check Fonts, Transparency, and Artwork Elements
Embed fonts or convert text to outlines so type does not get substituted on another system. Flatten complex transparency and gradient effects where your provider recommends it, since unflattened effects can render unpredictably on some RIP software.
Choose the Right File Format
PDF and TIFF are the most widely accepted print-ready formats because they preserve layout, resolution, and color information reliably. High-resolution JPEG can work for simpler jobs, and vector formats like EPS or SVG are best for logos and line art. Confirm supported formats with your provider or storefront before exporting.
Preflight and Review the File
Run a preflight check for missing fonts, low-resolution or missing linked images, incorrect color mode, and bleed issues before submitting the file. Viewing a full-size crop of the most detail-heavy area at the intended viewing distance is a practical way to catch problems that numbers alone can miss.
Save and Manage the Print-Ready Version
Save a clearly labeled, final print-ready copy separate from your working files, and keep track of revisions so the correct version reaches production. sophisticated print shop workflow management software can store file versions, approvals, and job history in one place, reducing the risk of an outdated file being sent to print.
Confirm Production Requirements With the Print Provider
Requirements can vary by printer model, substrate, and finishing method, so confirm final specifications, including resolution, bleed, and file format, with your print provider before final submission rather than relying on general rules alone.

How Web-to-Print Software Simplifies Large Format File Preparation
Web-to-print software moves much of this checklist out of manual review and into the ordering process itself. Instead of a designer or account manager checking each file by hand, the storefront can apply size, bleed, resolution, and file-format rules automatically at the point of upload.
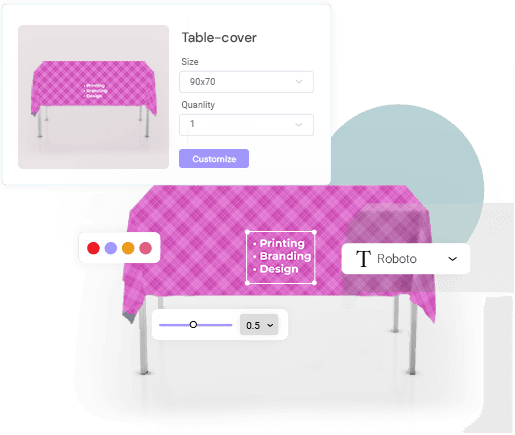
In practice, this typically includes custom product sizing so customers can enter exact dimensions rather than choosing from fixed presets, built-in templates for common large format products, automated or guided preflight checks that flag missing fonts or low-resolution images, centralized file and version management, and instant estimating so customers see accurate pricing as soon as size and quantity are set.
The result is fewer file-related errors reaching production and less back-and-forth between customers and the print shop.
Choose OnPrintShop’s Large Format Printing Software for File PreparationChoosing an advanced large format printing software is crucial to your business because your business success depends on it. The software you choose will either streamline your process or make it even more tiresome than it is. Thus, you should keep key points like customizability and scalability in mind while deciding.OnPrintShop offers one of the most customizable large format web-to-print software that allows you to not only upload the file, but pick a pre-designed template and edit it, or create your own design from scratch too.It supports your business expansion by supporting the best file format for large printing and lets you add as many products as you want in your store too.So, what are you waiting for? Get a demo to see how the we2print software by OnPrintShop helps you prepare files for large format printing projects effortlessly.